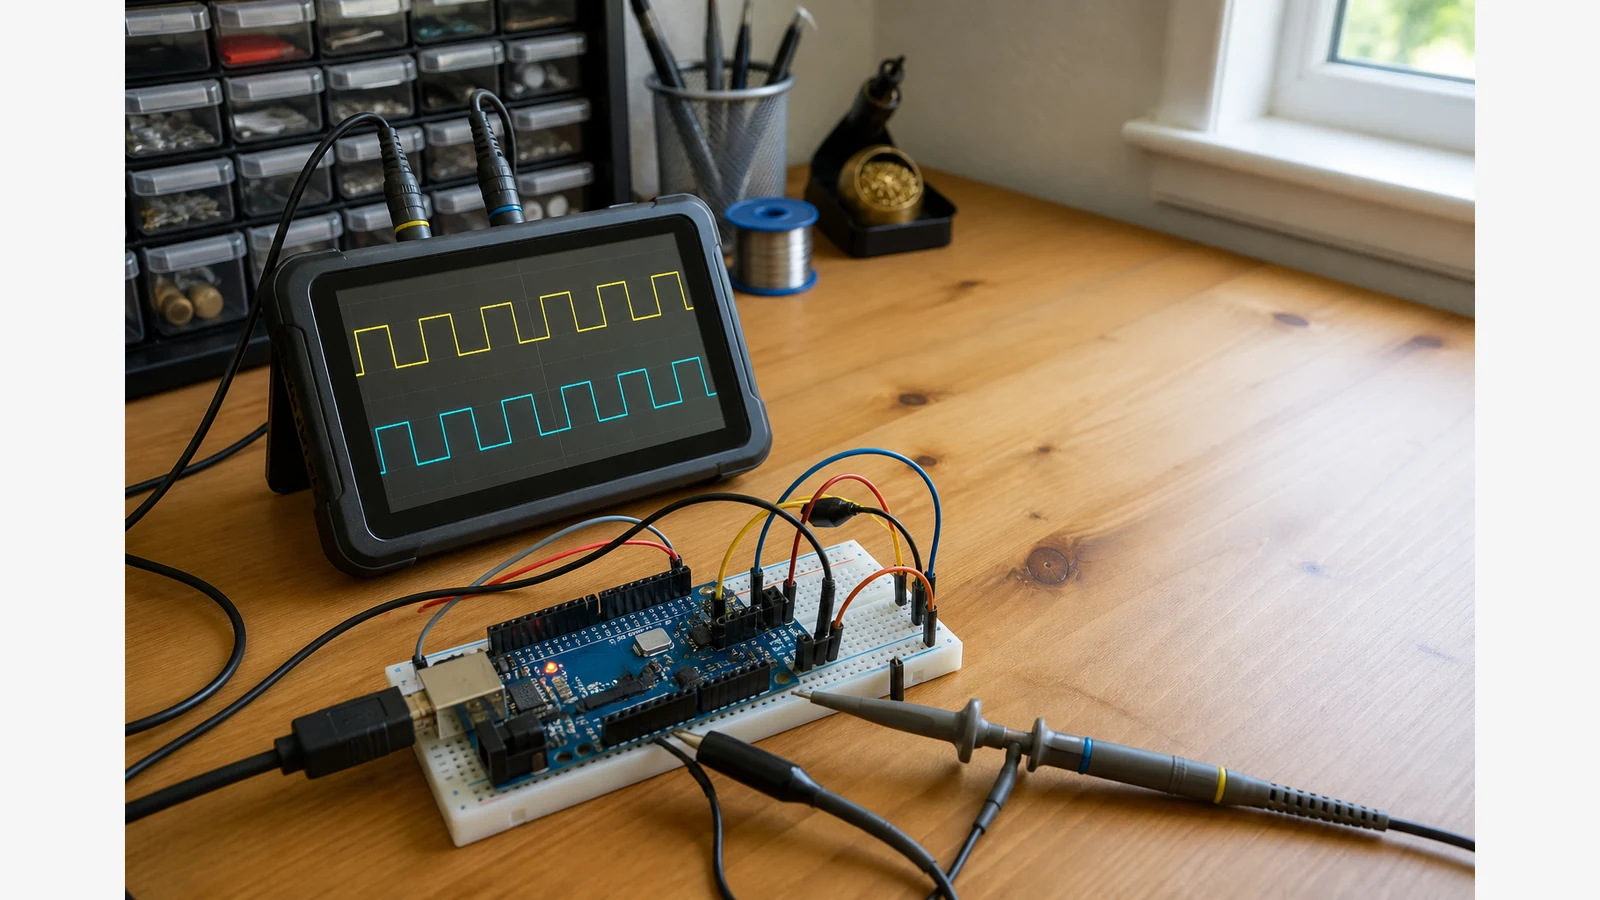
Oscilloscope for Arduino UK: What Beginners Actually Need
If your Arduino project behaves oddly but a multimeter only shows a “sensible” voltage, you usually need an oscilloscope. A scope shows how the signal changes over time—PWM edges, serial timing glitches, sensor spikes—so you can see problems that numbers alone hide. For most UK hobbyists working on 5 V / 3.3 V boards, a beginner-friendly oscilloscope for Arduino UK buyers is a handheld dual-channel unit in the 20–50 MHz class, not a lab-grade bench instrument.
When a multimeter is enough—and when it is not
A digital multimeter remains the right first tool for continuity, supply rails and steady DC. Reach for a scope when you need to:
- Confirm PWM duty cycle and look for ringing or missing pulses
- Check whether UART / I2C lines are toggling (presence and rough timing—not full protocol decode)
- Catch intermittent sensor or power glitches that averages wash out
- Compare an input and output on two channels at once
UK retailers who sell pocket handheld scopes for makers routinely position them for Arduino and ESP32 debugging, including PWM and basic serial checks with domestic shipping—useful context when you are buying your first scope rather than a full bench kit.
What UK beginners should actually look for
Focus on fit for microcontroller work, not headline marketing:
- Bandwidth: Arduino-class work is often covered by 20–50 MHz handheld scopes; you rarely need RF-grade bandwidth for hobby boards.
- Dual channel: Comparing clock vs data, or PWM vs load voltage, saves hours of guesswork.
- Usable probes and grounding: Short ground leads matter more than chasing extra MHz on a messy breadboard.
- Honest listings: Prefer clear UK product pages over vague “100 MHz” claims with no supporting detail.
- Bonus meter functions: A True RMS multimeter in the same handheld helps for quick voltage and continuity checks between waveform captures.
Pocket 200 kHz units versus ~50 MHz handhelds
Ultra-cheap pocket scopes can prove a slow square wave exists, but they struggle with faster edges and leave little headroom as projects grow. A single-channel 10 MHz handheld is a practical step up for everyday microcontroller and hobby electronics diagnostics without jumping to a large benchtop DSO. Product pages that list 50 MHz for microcontroller and everyday diagnostics—and that keep specifications readable—are easier to trust when you are still learning.
Checklist before you buy
- Write down the signals you need to see (PWM, sensors, supply noise, serial lines).
- Decide whether you need dual channel from day one (usually yes for learning).
- Confirm English UI, UK delivery and a clear returns path.
- Reject listings that bury safety category or invent features like automatic protocol decoding at this price tier.
- Plan probe technique: spring tips / short grounds beat long flying leads.
Who should wait—or buy a dedicated bench scope instead
Wait if you only need continuity and DC voltage: learn the multimeter first. Choose a dedicated benchtop scope if you routinely do high-speed digital analysis, deep memory capture or advanced triggering. A handheld 3-in-1 will not replace a professional bench instrument for those jobs—and honest guides should say so.
A practical next step for makers
If you want waveforms plus everyday metering without filling the desk, a dual-channel handheld that also includes a True RMS meter and a basic signal generator can cover Arduino fault-finding and simple functional tracing. See the ZOYI ZT-702S on the product page. Arduino-class signals are slow compared with a radio. PWM into a motor driver, a sensor voltage that moves as you turn a pot, a serial edge you only need to see is present: a 10 MHz single channel shows those shapes. The ZOYI ZT-702S is built for that bench. One channel, 48 MS/s, a 9999-count True RMS meter, a 2.8-inch colour screen, English menus and USB-C charging. A spare oscilloscope probe set comes with this version. Set the probe to X10 for most board work, tell the meter the same X10, and compensate on the fixed 3 V / 1 kHz square-wave port until the square edge is square. Then clip the tip to the pin and the ground to a nearby ground, a short ground at the board, rather than a loop across the desk. Scope input stays within 150 V peak, which is far above a 5 V or 3.3 V board and is still a limit you should know. The meter side checks continuity, resistance, diode drop and the supply rail when the trace is confusing. Two channels would let you see TX and RX together. This instrument shows one of them at a time, which is enough to learn timing and to find a pin that never moves. It will not decode a fast parallel bus. The product page price is £98.46 including VAT. Read the live specification before you order, then start with a blink pin so you know the probe, the ground and the timebase are honest. Start on a pin you already understand, such as a blink output, so the first trace teaches the instrument rather than the sketch. Count the high time against the delay you wrote. Then move to the pin that misbehaves. If the edge is slow, check that the probe is on X10 and that the ground is short. If the pin never moves, use continuity and the meter before you rewrite the sketch. One channel means you look at TX, then at RX, and you write down which clip was where. That is slower than a two-channel scope and it is still enough to finish a hobby board. Keep the compensation port for the probe, then go back to the pin. The live product page is the place to confirm £98.46 and the returns note.ZT-702S handheld ScopeMeter product page before you buy, and cross-check against your own project list. For wider kit planning, see our guide to a 3-in-1 oscilloscope, multimeter and signal generator.
FAQ
Is 50 MHz enough for Arduino?
For typical PWM, sensor and board-level power checks, yes—Arduino-class work is commonly covered in the 20–50 MHz handheld range. It is not a substitute for high-speed digital bus analysis tools.
Will a beginner handheld decode I2C or SPI for me?
Do not assume protocol decoding. Treat the scope as a way to see whether lines toggle cleanly; decode belongs to specialised tools or software.
How steep is the learning curve?
Start with one known-good PWM pin, AC/DC coupling basics and trigger on a rising edge. Most makers get useful screens within an evening if they keep ground loops short.